Step 2: Enable Content Language
Now we need to enable the languages that we have installed in Step 1. To do so go to System > Manage > Content Languages. Select the languages you installed and choose Publish from the Actions drop-down menu.
After publishing, you will get a message showing “Content Languages Published”
Step 3: Install the Language Plugins
Next comes the installation of the Language Filter and Language Code plugins. Language Filter plugin help the CMS to recognize what languages you have installed and displays the relevant content and the Language Code improves SEO for the generated HTML document. Let’s take a look at how we can enable these plugins.
Go to System > Manage > Plugins. Type in Language in the search bar and hit enter. You will get a list of plugins related to language. From the list, enable Language Filter and Language Code.
Step 4: Assign Languages to Specific Pages
Hopefully, you were able to follow the steps so far. Now it’s time to create copies of web pages for your installed languages. For this tutorial, we will demonstrate using the Legacy Home page of Helix Ultimate.
Go to your Joomla Dashboard and navigate to Components > SP Page Builder. From the list of pages choose Home – Legacy.
From the dropdown menu of the Save button click Save as Copy.
Repeat this process for the number of languages you have installed. In this tutorial, we will be saving four copies of the Home page each for English, Arabic, Chinese and Finnish.
Let’s see how we can edit and assign the Arabic language to one of the pages we have just created. Go back to the Sp Page Builder – Pages and scroll down to the copy of the Home page “Home – Legacy (2)” you have just created.
Rename the Title as “Home – Arabic” and navigate to the Publishing tab from the sidebar.
From the dropdown list of the Language option choose Arabic. Click Save and Close.
Repeat the same process for the rest of the languages.
Step 5: Set up Menu for the Multilingual Site
The next step is to create a menu for each of the languages you have installed and want to display on your website. This step is necessary for better control and easy navigation for your website. Let’s see how we can do that.
From your dashboard navigate to the Menu option and choose Manage. Click on the New button.
For the Arabic Menu, you can set the Title of your menu as “Home – AR” and the Unique Name as “Home – Ar”. Hit Save & Close.
Repeat the same process for the rest of the languages.
Step 6: Add Menu Items for the Languages
Once you have created the menus for each of the languages, it is time to add menu items for each main menu. From your dashboard go to the Menus. From the dropdown items, you should be able to see the list of the menus you have just created.
Here we will demonstrate adding menu items for the Arabic menu.
Go to Menus > Home – AR > New
- Title Home – AR
- Menu Item Type: SP Page Builder > Page
- Select Page: Home Arabic ( Previously created in Step 4 )
- Menu: Home – AR
- Language: Arabic
Once everything is set, hit Save & Close.
Repeat the same process for each of the Menus you had created.
Click on this Set As Home button shown on the screenshot above for the language flag to appear. This will become the default Home item for Arabic language pages.
Step 7: Menu Association via the Menu Item
Once you have added a menu item and assigned languages, you should be able to find the Associations tab like shown in the screenshot. Choose the menu items for the associated languages that you have previously created the menu of.
To do so go to Menus > Site. From each menu type choose the associated languages individually.
Step 8: Enable Language Switcher Module
The next thing you need to do is to enable the language switcher module. This module displays the available content languages that you want to display and enables users to switch between the list of available content languages in a multilingual site.
Go to Content > Site Modules > New and select the Language Switcher module.
Now the Language Switcher module should appear in your Site Module. Click on the Module.
Rename the Title as Language Switcher. Click on the Title bar to Hide the main title from appearing on your webpage. Then select the Position to Top 2.
Hit Save & Close.
Step 9: Duplicate Template Style
With each language that we installed, we will assign the Helix Ultimate template to its content. To do that, we have to create duplicates of our Helix Ultimate template so that we get the same look and feel for each of our multilingual pages.
Navigate to System > Templates > Site Template Styles.
Select shaper_helixultimate – Default and click on the Duplicate tab on the top.
Once you are done, it’s time to assign languages to each of the duplicated templates. Let’s see an example of how we can do that.
Click on the shaper_helixultimate – Default (2) that you have just created and rename the Style Name as “shaper_helixultimate – English”. From the default language menu choose English. Hit Save and go to the Menu Assignment tab beside the Details tab.
Choose the respective language menu for each language like shown in the screenshot. Hit save and close.
Choose shaper_helixultimate – English from Site Templates Styles. Now click on Template Options.
This should take you to the front end of your Helix template. From the sidebar, navigate to Menu and select Home – EN from the Select Menu Type dropdown list. Hit the Save button on the top.
Repeat the same process for each of your template styles that you have just duplicated. In our case, we repeated the same process for shaper_helixultimate – Arabic, shaper_helixultimate – Chinese, haper_helixultimate – Finnish duplicated templates.
Step 10: Content Localization Method
Please note that the methods you followed so far allow you to have a separate panel for languages that you have installed and wish to display to your audience. Your content language will still be in the default language. The contents of each language should be localized manually. Let’s see how we can do that.
From your Joomla 4 dashboard go to Components > SP Page Builder.
From the list of pages scroll down to the home pages you had initially created in Step 4. Once you hover over the pages you should be able to see the two options Preview and Frontend Editor. Click on the Frontend Editor.
This should take you to the frontend editing page of Helix Ultimate from where you can localize your webpage as your preference.
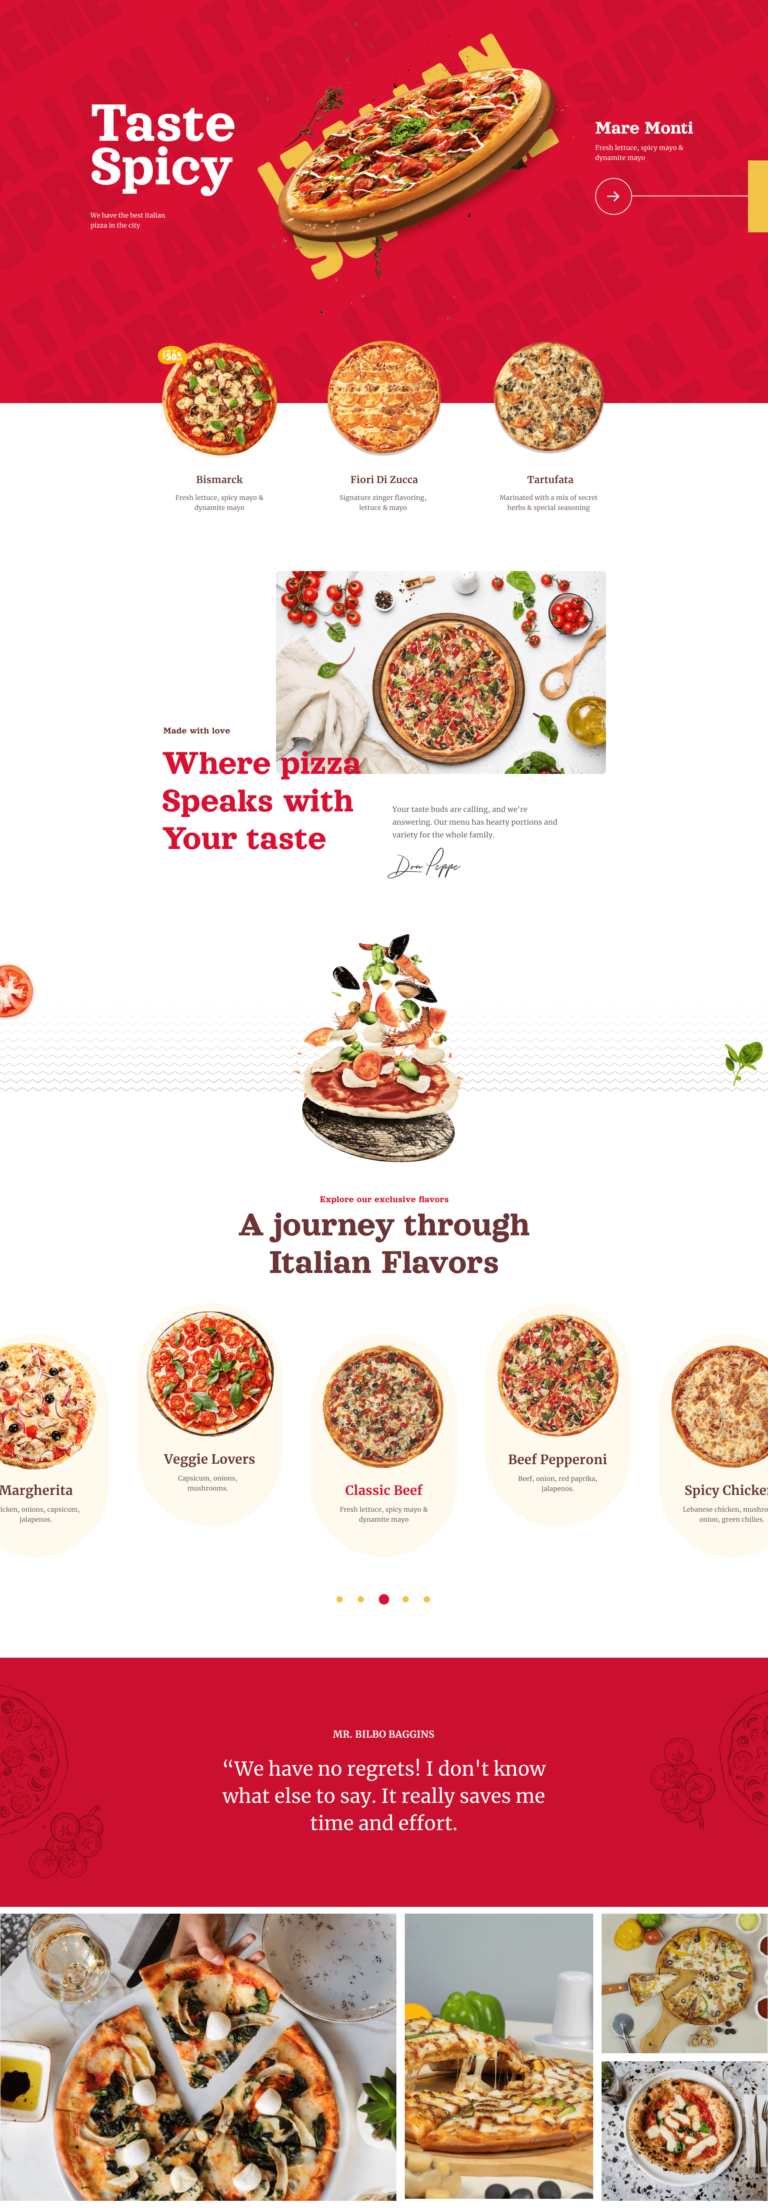
Let’s see what the translated pages look like after localization.
Congratulations! You have successfully created a multilingual site in Joomla 4 using Helix Ultimate.
Final Words
So in this article, we have tried to solve any confusion or difficulties you might have had for creating a multilingual site in Joomla 4 using Helix Ultimate. Localizing your website can effectively increase web traffic and consequently expand audience reach. So if you are looking to increase your global brand presence it’s definitely worth it to give it a try today!
Hope this article was helpful to you and don’t forget to leave your experience and feedback in the comments section below.


