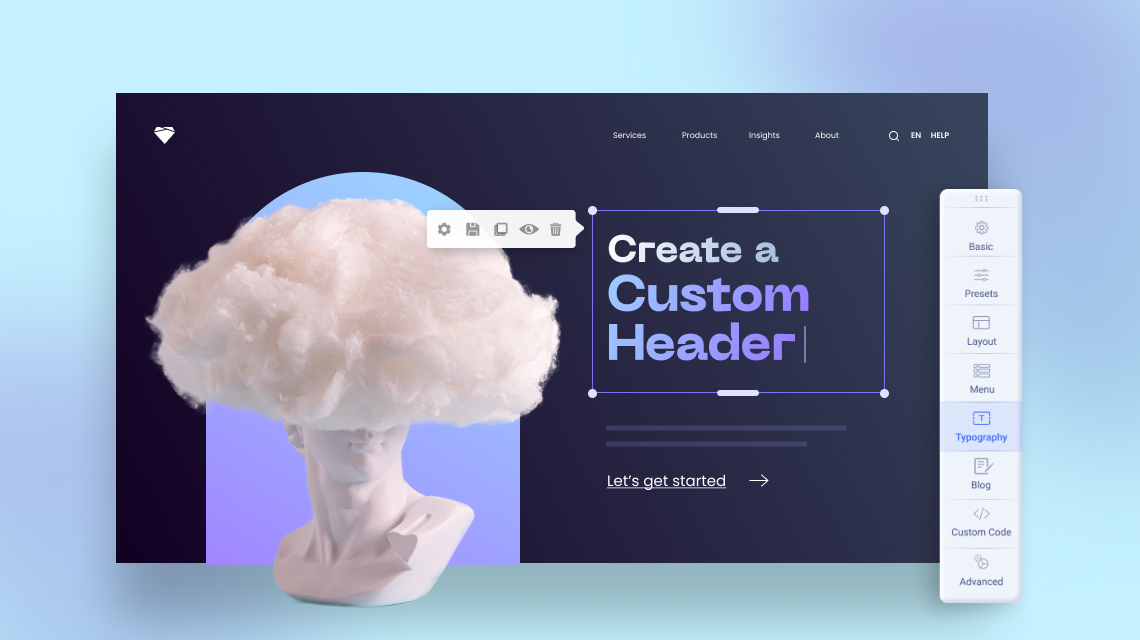
We all know the importance of having a stunning website to boost the credibility of your business. But have you ever emphasized the headers of your website? Because the header sits at the top of your website, this panel plays one of the significant roles in attracting your potential visitors, buyers, consumers, etc.
With the mighty Helix Ultimate, creating a custom header got simpler and more fun as it enables you to create your very own custom header without any prior coding experience. Although Helix already comes with built-in predefined headers with ready-to-use layouts for you to choose from, you can always go ahead and create your own fun custom header. So in this article, we will take a look at how you can create one step by step.
The Importance of Header for Your Website
It’s astonishing that although most of the businesses owning a website don’t pay much attention to their website header. Since the header sits at the top of your website, it should be able to create the first impression in capturing and creating a positive vibe.
Hence there are a couple of significant keys that you ought to keep in your mind while creating one:
- The header should contain a minimum of 2 elements – your business logo and navigation menu.
- Come up with something exceptional. Thinking of a unique header can immediately catch your prospect’s attention and make them explore your website further.
- It is better to have no headers at all instead of a messy one. So don’t be extra careful when it comes to creating well-structured headers.
- Pay extra attention while choosing the Fonts. Headers must be legible, period! As much as it is praiseworthy to be creative with the logo, it is only recommended to be as formal and clean with the font.
Just keeping these factors in mind while creating your custom header can land you a successful, good-looking one. So without anymore further delay let’s jump into the tutorial.
Step 1: Decide What You Want to Put Up for Your Header
As we have already discussed, there are no alternatives to having a proper, sensible header. So sketch down how you want your header to look first and then dive into implementing it on your website.
For this particular tutorial, we will be implementing a simple logo and a navigation menu for your understanding.
Step 2: Log in to Your Helix Ultimate Frontend Editor
Firstly login to your helix ultimate backend administrator and from your dashboard go to System > Site Template Styles > shaper_helixultimate-Default. Choose Template Options and visit your Helix Ultimate Frontend editor.
Step 3: Hide Predefined Header
Helix Ultimate already comes with a range of different headers for you to choose from. In order to allow your custom header to be visible, it’s necessary to hide those predefined headers. To get this step done navigate to the sidebar and choose Basic > Header. Click the toggle button off.
Step 4: Upload Your Logo and Create Your Custom Menu
Once you have logged in to the frontend editor, upload your Logo first. To do so navigate to the sidebar and choose Basic > Logo > Select.
Next is creating your menu items. To do that simply navigate to the sidebar and choose Menu > Add Menu Item.
Create your Menu Items and fill up the necessary fields.
- Title: Popular
- Menu Item Type: System Links > URL
- Link: #
- Menu: Main Menu
Double-check the information you provided and hit Save. Repeat the same process for the rest of your menu items that you wish to display in your header.
We have also included a Mega Menu for our header in this tutorial. In case you want to create your own Mega Menu then here is how to.
Step 5: Create Custom Header Layout
Now it’s time to create your custom header layout. From the sidebar choose the Layout option. Once you hover over the first row you should be able to see the (+) sign appearing under the row. Click on it and it should create a new layout.
Drag the newly created layout at the top of the entire layout grid. To get into row options now click on the slider icon. Rename the section title as ‘Header’ and hit Apply.
Now moving on, choose the boxed icon to create a custom column layout. You can already find a range of predefined layouts or you can create your own. This layout proportion depends on what your header consists of. In our case, we are going to use a logo and a navigation menu for demonstration. We will choose a 4+8 column layout.
Step 6: Choose Module Position From the List
Choosing a module position for your header element is important. For this tutorial, we are using a logo and a menu. Hence here we will assign module positions to our header elements individually.
To do that hover over your first column layout. You should be able to see three dots. Click on the three dots to access the column option. From the Module Position option, we simply choose ‘Logo’ for our logo position and hit Apply. You can choose your own logo image from the frontend editor’s Basic > Logo > Select.
Repeat the same process for the second column layout which we have assigned for the menu. So for this column layout, we choose the position ‘menu’ and hit Apply.
Do remember to hit the save button from the frontend editor to check the changes.
If you were able to follow so far then great job! You are pretty much done with creating the custom header. Let’s check the final result:
Ending Thoughts
Website headers play important roles in your site’s success or failure. Apart from branding your beloved website, headers can also help promote other important information, display social media links, and a lot more. Therefore, it is recommended that you take your time and thoughts before designing and creating one for your website.
Hope this tutorial was useful and helpful to you in case you were struggling to create your own header without having to implement any coding.
Do you still have questions and queries regarding custom header creation? Then let us know right in the comment box.
Get Helix Ultimate
